QT-PyQt-PySide-Custom-Widgets
Install the custom widgets
pip install QT-PyQt-PySide-Custom-Widgets
PyQt, PySide
Theme Engine
Create Multiple Themes for your Python Desktop app
This feature allows you to create multiple themes for QT for Python apps
- Generate a modern stylesheet
- Generate new icons for your theme
- ✨Remember theme settings event after you close the app
- Get current theme colors
- Dynamically change your theme
You can watch this tutorial for more.
Installation
- Install the custom widgets module
pip install --upgrade QT-PyQt-PySide-Custom-Widgets- This should install all the required modules
Create your project using the project maker
- Create an empty project folder
- Open the command line inside this folder(Make sure the folder is empty)
- From your command line/Terminal, type
pythonpress enter - Now type
from Custom_Widgets import ProjectMakerpress enter - Now the wizard will take you through the required steps to build your project
- Once youre done, enter
Yoryesto run the built project - To exit the wizard, enter
Norno
Now you can open and edit your project!!
Inside your project you will see the following files:
- “Main.py” Your main python file
- “interface.ui” The main interface file, open it inside QT Designer
- “QSS_Resources_rc.py” The python resource file. This file will be updated everytime you change the app theme.
- “ui_interface.py” The python interface file
- “style.json” file will contain the custom values for the app including themes, app name and other customizations.
- The QSS folder will contain all the app icons and stylesheet autogenerated by the theme engine.
The files that you will be customizing here are the “main.py”, “style.json” and the “QSS/defaultStyle.scss”.
Adding App Themes
Your generated “style.json” file will look like this:
{
"QMainWindow": [
{
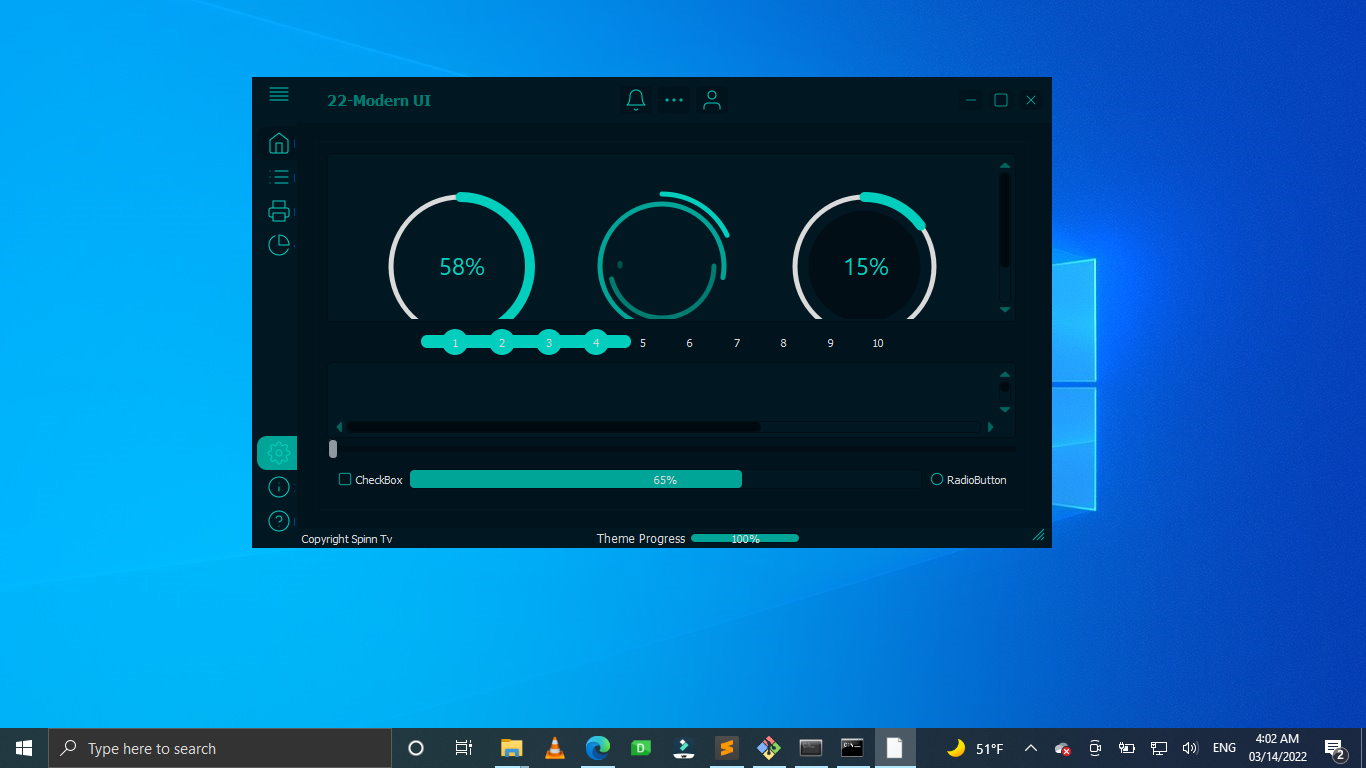
"tittle": "Modern UI"
}
],
"QSettings": [
{
"ThemeSettings": [
{
"CustomTheme": []
}
],
"AppSettings": {
"OrginizationName": "Modern UI",
"ApplicationName": "Modern UI Company",
"OrginizationDormain": "Modern UI.org"
}
}
]
}
Now you can add you themes inside the “CustomTheme” object a shown below:
{
    "QMainWindow": [
        {
            "tittle": "Modern UI"
        }
    ],
    "QSettings": [
        {
            "ThemeSettings": [
                {
                    "CustomTheme": [
                        {
                            "Background-color": "#16191d",
                            "Text-color": "#fff",
                            "Accent-color": "#03C3C3",
                            "Theme-name": "Dark-Blue",
                            "Default-Theme": true
                        }
                    ]
                }
            ],
            "AppSettings": {
                "OrginizationName": "Modern UI",
                "ApplicationName": "Modern UI Company",
                "OrginizationDormain": "Modern UI.org"
            }
        }
    ]
}
The theme variables:
- “Background-color”: HEX value, the widgets background color,
- “Text-color”: HEX value, the text color,
- “Accent-color”: HEX value, a different color to bring out contrast i.e border colors,
- “Theme-name”: STRING value, a unique theme name(Do not use “DARK” or “LIGHT” as theme name),
- “Default-Theme”: BOOL value, true to be set as the default theme or false,
- “Icons-color”: HEX value, unique icons color. The default Icons color is the “Accent-color”.
- “Create-icons”: BOOL value, the default value is TRUE, if set to false no icons will be generated for this theme, the theme will inherit icons from the previous theme.
The themes sharing the same icon color or accent color will also share the same icons folder inside the QSS folder, therefore minimising the time taken to make new icons.
Applying Theme
To compile and apply your app the add “QAppSettings.updateAppSettings(self)” to your “main.py” file.
########################################################################
## QT GUI BY SPINN TV(YOUTUBE)
########################################################################

########################################################################
## IMPORTS
########################################################################
import os
import sys
########################################################################
# IMPORT GUI FILE
from ui_interface import *
########################################################################

########################################################################
# IMPORT Custom widgets
from Custom_Widgets import *
# INITIALIZE APP SETTINGS
settings = QSettings()
########################################################################


########################################################################
## MAIN WINDOW CLASS
########################################################################
class MainWindow(QMainWindow):
    def __init__(self, parent=None):
        QMainWindow.__init__(self)
        self.ui = Ui_MainWindow()
        self.ui.setupUi(self)

        ########################################################################
        # APPLY JSON STYLESHEET
        ########################################################################
        # self = QMainWindow class
        # self.ui = Ui_MainWindow / user interface class
        loadJsonStyle(self, self.ui)
        ########################################################################

        #######################################################################
        # SHOW WINDOW
        #######################################################################
        self.show()

        ########################################################################
        # UPDATE APP SETTINGS LOADED FROM JSON STYLESHEET
        # ITS IMPORTANT TO RUN THIS AFTER SHOWING THE WINDOW
        # THIS PROCESS WILL RUN ON A SEPARATE THREAD WHEN GENERATING NEW ICONS
        # TO PREVENT THE WINDOW FROM BEING UNRESPONSIVE
        ########################################################################
        # self = QMainWindow class
        QAppSettings.updateAppSettings(self)


########################################################################
## EXECUTE APP
########################################################################
if __name__ == "__main__":
    app = QApplication(sys.argv)
    ########################################################################
    ##
    ########################################################################
    window = MainWindow()
    window.show()
    sys.exit(app.exec_())
########################################################################
## END===>
########################################################################
Now run the “main.py” file. See the changes made inside the QSS folder and the app GUI. Once your new theme has been created, you will be prompted to restart your app.
Multiple themes
You can pass as many themes as you want inside the JSON stylesheet as shown here:
{
    "QMainWindow": [
        {
            "tittle": "Modern UI"
        }
    ],
    "QSettings": [
        {
            "ThemeSettings": [
                {
                    "CustomTheme": [
                        {
                            "Background-color": "#16191d",
                            "Text-color": "#fff",
                            "Accent-color": "#03C3C3",
                            "Theme-name": "Dark-Blue",
                            "Default-Theme": false
                        },
                        {
                            "Background-color": "#ffff",
                            "Text-color": "#070808",
                            "Accent-color": "#0F9696",
                            "Theme-name": "Light-Blue",
                            "Default-Theme": true,
                            "Icons-color": "#0F6464"
                        },
                        {
                            "Background-color": "#e6f0f2",
                            "Text-color": "#070808",
                            "Accent-color": "#FF4100",
                            "Theme-name": "Light-Orange",
                            "Create-icons": false
                        },
                        {
                            "Background-color": "#021924",
                            "Text-color": "#d9dde0",
                            "Accent-color": "#02d3c1",
                            "Theme-name": "Dark-Night"
                        },
                    ]
                }
            ],
            "AppSettings": {
                "OrginizationName": "Modern UI",
                "ApplicationName": "Modern UI Company",
                "OrginizationDormain": "Modern UI.org"
            }
        }
    ]
}
Accessing and Changing App Theme
You can access and change your app theme from your python file,
- To check the current app theme:
####################################################################### # CHECK THE CURRENT THEME SETTINGS ####################################################################### settings = QSettings() # CURRENT ICONS # CURRENT THEME NAME print("Current theme", settings.value("THEME")) print("Current Icons color", settings.value("ICONS-COLOR")) - To change the app theme:
# CHANGE THE THEME NAME IN SETTINGS # Use one of the app themes from your JSON file settings.setValue("THEME", "Dark-Night") # RE APPLY THE NEW SETINGS # CompileStyleSheet might also work # CompileStyleSheet.applyCompiledSass(self) QAppSettings.updateAppSettings(self) - To access all theme list: All themes from your JSON file will be stored inside the “UI_Mainwindow()” onject
        # READ ALL THEME NAMES CREATED FROM THE JSON FILE
        # NOTE THAT TWO THEMES (LIGHT AND DARK) WILL BE AUTOMATICALLY ADDED TO THE LIST
        # WHEN CREATING THEMES ON YOUR JSON FILE AVOID USING LIGHT OR DARK AS YOUR THEME NAME
        for theme in self.ui.themes:
            #theme.name is the name of the theme
            #theme.backgroundColor is the theme bg color
            #theme.textColor is the theme text color
            #theme.accentColor is the theme accent color
            #theme.iconsColor is the theme icons color
            #theme.defaultTheme and theme.createNewIcons are bool values

            print(theme.name)
- Getting current theme variables: Once the theme has been compiled, all theme variables will be saved inside the “QSS/_variables.scss” file. An example of these variables is shown below:
      //===================================================//
      // FILE AUTO-GENERATED, ANY CHANGES MADE WILL BE LOST //
      //====================================================//
      $COLOR_BACKGROUND_1: #fafafa;
      $COLOR_BACKGROUND_2: #e1e1e1;
      $COLOR_BACKGROUND_3: #c8c8c8;
      $COLOR_BACKGROUND_4: #969696;
      $COLOR_BACKGROUND_5: #7d7d7d;
      $COLOR_BACKGROUND_6: #646464;
      $COLOR_TEXT_1: #000000;
      $COLOR_TEXT_2: #181818;
      $COLOR_TEXT_3: #313131;
      $COLOR_TEXT_4: #4b4b4b;
      $COLOR_ACCENT_1: #00b8fa;
      $COLOR_ACCENT_2: #0093c8;
      $COLOR_ACCENT_3: #006e96;
      $COLOR_ACCENT_4: #004964;
      $OPACITY_TOOLTIP: 230;
      $SIZE_BORDER_RADIUS: 4px;
      $BORDER_1: 1px solid $COLOR_BACKGROUND_1;
      $BORDER_2: 1px solid $COLOR_BACKGROUND_4;
      $BORDER_3: 1px solid $COLOR_BACKGROUND_6;
      $BORDER_SELECTION_3: 1px solid $COLOR_ACCENT_3;
      $BORDER_SELECTION_2: 1px solid $COLOR_ACCENT_2;
      $BORDER_SELECTION_1: 1px solid $COLOR_ACCENT_1;
      $PATH_RESOURCES: ':/icons/Icons/';
      //===================================================//
      // END //
      //====================================================//
You can use these variables inside the “QSS/defaultStyle.scss” to apply your custom style:
            //===================================================//
            // FILE AUTO-GENERATED. PUT YOUR DEFAULT STYLES HERE.
            // THESE STYLES WILL OVERIDE THE THEME STYLES
            //====================================================//
            *{
                border: none;
                background-color: transparent;
                background: transparent;
                padding: 0;
                margin: 0;
                color: $COLOR_TEXT_1;
            }
            #centralwidget{
                background-color: $COLOR_BACKGROUND_1;
            }
            QProgressBar {
                height: 1px;
                border-width: 1px;
                ::chunk {
                    background-color: $COLOR_ACCENT_4;
                    border-radius: 5px;
                }
            }
            //===================================================//
            // END //
            //====================================================//
These variables are also stored inside the “MainWondow()” object and can be accessed from the python file:
        ########################################################################
        # READ THE COLOR VALUES FROM THE THEME GENERATED
        # YOU CAN ALSO PREVIEW THESE COLORS FROM THE _VARIABLES FILE INSIDE THE QSS
        # FOLDER
        ########################################################################
        #get background colors
        self.theme.COLOR_BACKGROUND_1 ..... self.theme.COLOR_BACKGROUND_6
        #get text colors
        self.theme.COLOR_TEXT_1 ... self.theme.COLOR_TEXT_4
        #get accent colors
        self.theme.COLOR_ACCENT_1 ... self.theme.COLOR_ACCENT_4
What Next?
Its time to improve your UI design skills with QT, watch these tutorials