QT-PyQt-PySide-Custom-Widgets - Custom QMainWindow
Install the custom widgets
pip install QT-PyQt-PySide-Custom-Widgets

Customize Your QMainWindow
QT-PyQt-PySide-Custom-Widgets offers an easy way to add a custom title bar to application main window. This is done through “style.json” file.
Download
Download an example.
Steps to add a custom windows title bar to your QMainWindow
Step 1:
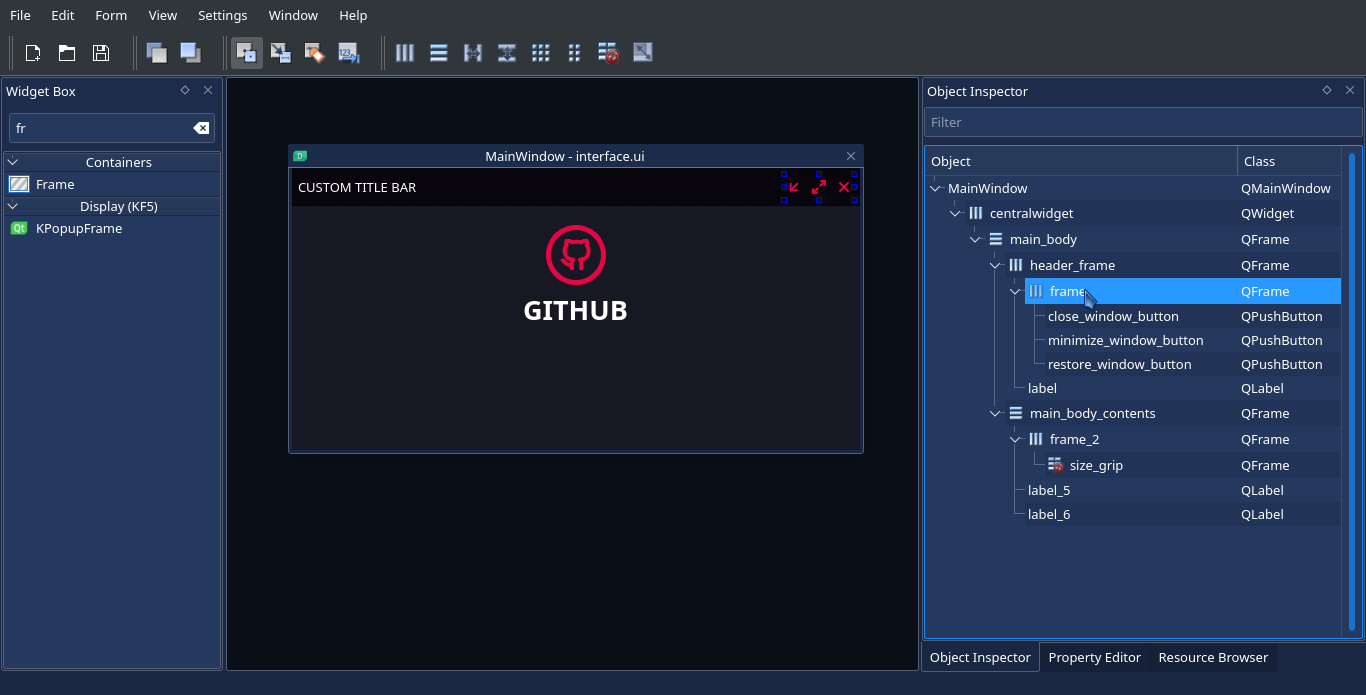
Open QT Designer, design your app main widow. Add a custom tittle bar with custom navigation buttons. These buttons are(optional):
1. Minimize button - If you want your window to be minimizable.
2. Close button - If you want your window to be closable.
3. Restore button - If you want your window size to be maximized or restored.
You can also add a QFrame to the bottom right corner of your app window which will be used as a “Size Grip” to resize the window.
I designed the simple window below:

Step 2:
Create “main.py” file, import the UI file, then import QT-PyQt-PySide-Custom-Widgets;
########################################################################
## IMPORTS
########################################################################
import sys
import os
from PySide2 import *


########################################################################
# IMPORT GUI FILE
from ui_interface import *
########################################################################

########################################################################
# IMPORT Custom widgets
from Custom_Widgets import *
########################################################################
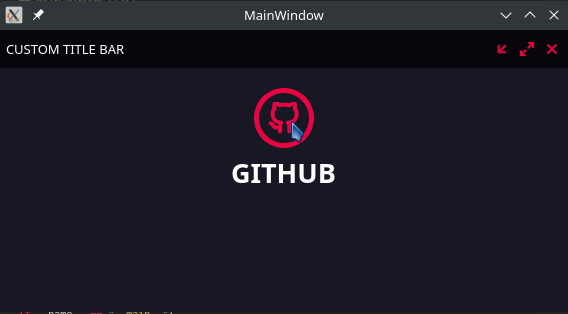
If you run “main.py”, you will get the window with the default title bar:

Step 3:
Create “style.json” file inside your project folder. Inside this file create the “QMainWindow” object which will contain a list of values to customize the main window.
{
	"QMainWindow":[
	]
}
Step 4:
Customize your main window title bar from “style.json” file
Set window title
{
	"QMainWindow":[
		{
			"tittle":"My Window"
		}
	]
}
Set window icon
{
	"QMainWindow":[
		{
			"icon":":/icons/icons/github.svg"
		}
	]
}
Set window to frameless / Remove default title bar
{
	"QMainWindow":[
		{
			"frameless": true
		}
	]
}
Set window background to transluscent
{
	"QMainWindow":[
		{
			"transluscentBg": true
		}
	]
}
Set window size grip widget
{
	"QMainWindow":[
		{
			"sizeGrip": "size_grip"
		}
	]
}
Apply background shadow to the central widget of the main window
“centralWidget” holds the name of the central widget containing all the main window widgets
{
	"QMainWindow":[
		{
			"shadow":[
				{
					"color": "#555",
					"blurRadius": 20,
					"xOffset": 0,
					"yOffset": 0,
					"centralWidget": "centralwidget"
				}
			]
		}
	]
}
Add custom navigation butttons
Minimize button
{
	"QMainWindow":[
		{
			"navigation":[
				{
					"minimize":"minimize_window_button"
				}
			]
		}
	]
}
Close button
{
	"QMainWindow":[
		{
			"navigation":[
				{
					"close": "close_window_button",
				}
			]
		}
	]
}
Restore / Maximize button
- “buttonName” = name of the button,
- “maximizedIcon” = button icon when the window is in its normal size
- “normalIcon” = button icon when the window is in maximum size
{
	"QMainWindow":[
		{
			"navigation":[
				{
					"restore":[
						{
							"buttonName": "restore_window_button",
							"normalIcon": ":/icons/icons/maximize-2.svg",
							"maximizedIcon": ":/icons/icons/minimize-2.svg"
						}
					]
				}
			]
		}
	]
}
Drag / Move window widget
A widget that will be used to drag the app window
{
	"QMainWindow":[
		{
			"navigation":[
				{
					"moveWindow": "header_frame"
				}
			]
		}
	]
}
The title bar
This is the widget or frame which when double clicked will maximize the window if the window is in normal size or show the normal window size if the window is maximized
{
	"QMainWindow":[
		{
			"navigation":[
				{
					"tittleBar": "header_frame"
				}
			]
		}
	]
}
So, the full json style sheet for QMainWindow will look like this:
{
	"QMainWindow":[
		{
			"tittle":"My Window",
			"icon":":/icons/icons/github.svg",
			"frameless": true,
			"transluscentBg": true,
			"sizeGrip": "size_grip",
			"shadow":[
				{
					"color": "#fff",
					"blurRadius": 20,
					"xOffset": 0,
					"yOffset": 0,
					"centralWidget": "centralwidget"
				}
			],
			"navigation":[
				{
					"minimize":"minimize_window_button",
					"close": "close_window_button",
					"restore":[
						{
							"buttonName": "restore_window_button",
							"normalIcon": ":/icons/icons/maximize-2.svg",
							"maximizedIcon": ":/icons/icons/minimize-2.svg"
						}
					],
					"moveWindow": "header_frame",
					"tittleBar": "header_frame"
				}
			]
		}
	]
}
Apply JSon Stylesheet
To apply the above Json stylesheet to the main window jus call “loadJsonStyle()” function.
So the “main.py” file will look like this:
########################################################################
## IMPORTS
########################################################################
import sys
import os
from PySide2 import *


########################################################################
# IMPORT GUI FILE
from ui_interface import *
########################################################################

########################################################################
# IMPORT Custom widgets
from Custom_Widgets import *
########################################################################


########################################################################
## MAIN WINDOW CLASS
########################################################################
class MainWindow(QMainWindow):
    def __init__(self):
        QMainWindow.__init__(self)
        self.ui = Ui_MainWindow()
        self.ui.setupUi(self)

        ########################################################################
        # APPLY JSON STYLESHEET
        ########################################################################
        # self = QMainWindow class
        # self.ui = Ui_MainWindow / user interface class
        loadJsonStyle(self, self.ui)
        ########################################################################

        ########################################################################

        self.show()


########################################################################
## EXECUTE APP
########################################################################
if __name__ == "__main__":
    app = QApplication(sys.argv)
    window = MainWindow()
    sys.exit(app.exec_())
########################################################################
## END===>
########################################################################
This is the final results:

Watch this video for the full tutorial: Video